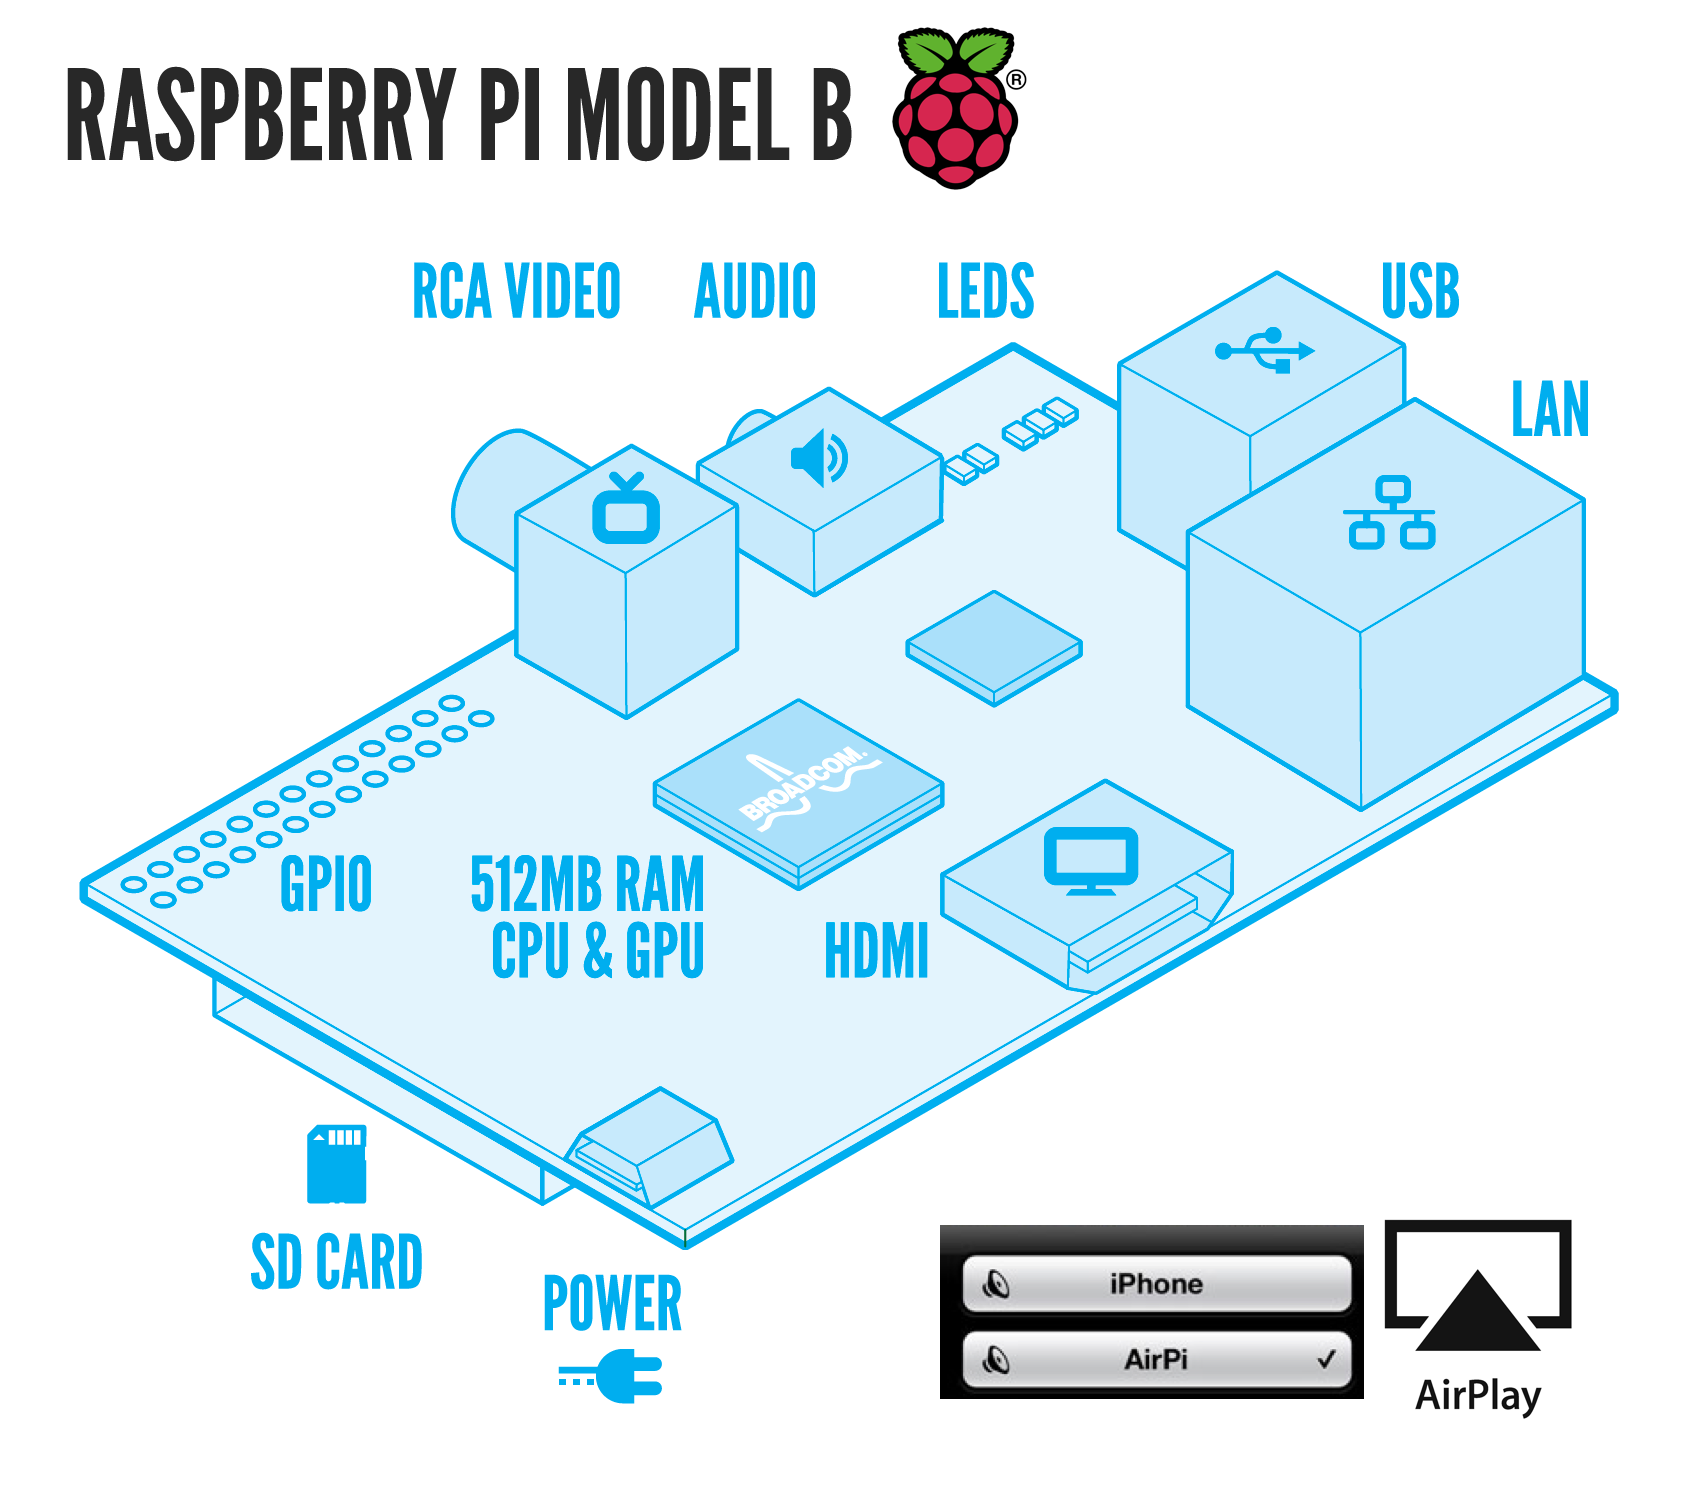
I got excited about the idea of having a Raspberry Pi. It is in essence one of the smallest complete computer that you can get for $35 bucks! Ok, after I got one I had to do something useful with it… So I make it a Airplay receiver to play music remotely from any of my apple devices!
There is a couple of ways to make it work. The easiest one is to install the RaspBMC, a popular media center.(http://www.raspberrypi.org/downloads) You can even turn it into a home theater (http://www.makeuseof.com/tag/raspberry-pi-home-theater-system/). However, I’m not going to explain any of those ways because just installing them gives you 99% of the functionality. As a developer, I want to have control of the computers, and I’m not afraid of the console. So, I installed Raspbian instead, which is a lightweight Ubuntu/Debian Linux optimized for Raspberry Pi.
#Getting started
1. Install Raspbian “wheezy”
Download the image from http://www.raspberrypi.org/downloads and follow the instructions. You have to format the SD card and “copy” the image. You can download this formatting tool: https://www.sdcard.org/downloads/formatter_4. After that, plug the SD card in Raspberry, also the Ethernet cable and power cord. For more instructions follow http://lifehacker.com/5976912/a-beginners-guide-to-diying-with-the-raspberry-pi.
2. Setup Pi
You need to connect it to an HDMI display to set it up using a USB mouse and keyboard or you can use SSH if you had set that up.
3. Access the Terminal
From the terminal type the following commands in you Raspberry Pi:
Become root and update the system
1 | sudo apt-get update && sudo apt-get upgrade |
3. Setup Audio
Audio ports could either be bind to the HDMI connection or to the audio output jack (you need sudo to execute any sound command).
1 | sudo amixer cset numid=3 1 |
Connect the speakers to you Raspberry Pi. You can test that they work with these:
1 | sudo speaker-test -t pink -l 1 |
You can also adjust the volume
1 | sudo alsamixer |
4. Install Airplay software
I tested with 2 different programs, both of them did the trick for me.
The latter is more popular so I will give the instructions for that one:
1 | apt-get install -y libssl-dev libavahi-client-dev libasound2-dev git |
5. Run Airplay (shairport) on boot.
It’s nice to run airport receiver automatically when you connect your Pi.
Create a file to start shairport
1 | nano /etc/init.d/airplay |
Type the following into airplay:
1 |
|
Close the editing mode and exit the file. Then register the script to be run on boot.
1 | chmod a+x /etc/init.d/airplay |
Reboot your Pi and you are good to go! (If you have any questions you can write a comment below)


